Indoor seed starting is useful only when you can provide the right light, care, and final planting space.
Decide what needs an indoor start
Some crops transplant well; others are simpler to sow directly. Read the packet and local guidance before filling trays. Plan the final growing positions first so you do not produce more seedlings than the bed can hold. Include a small contingency without turning every spare seed into a plant you must accommodate.
Work backward from a local window
Use a locally appropriate planting date as your reference, then apply the variety’s indoor-starting interval. A calculator can convert weeks into dates, but it cannot predict frost or soil warmth. Keep the reference date and its source beside your schedule so you can update the plan when conditions change.
Prepare the care setup
Use clean containers with drainage and a suitable seed-starting medium. Arrange appropriate light and a place you can check frequently. Follow crop-specific germination conditions and sowing depth. Label each variety immediately; trays that look different on planting day may be indistinguishable once every cell has green leaves.
Make the transition gradual
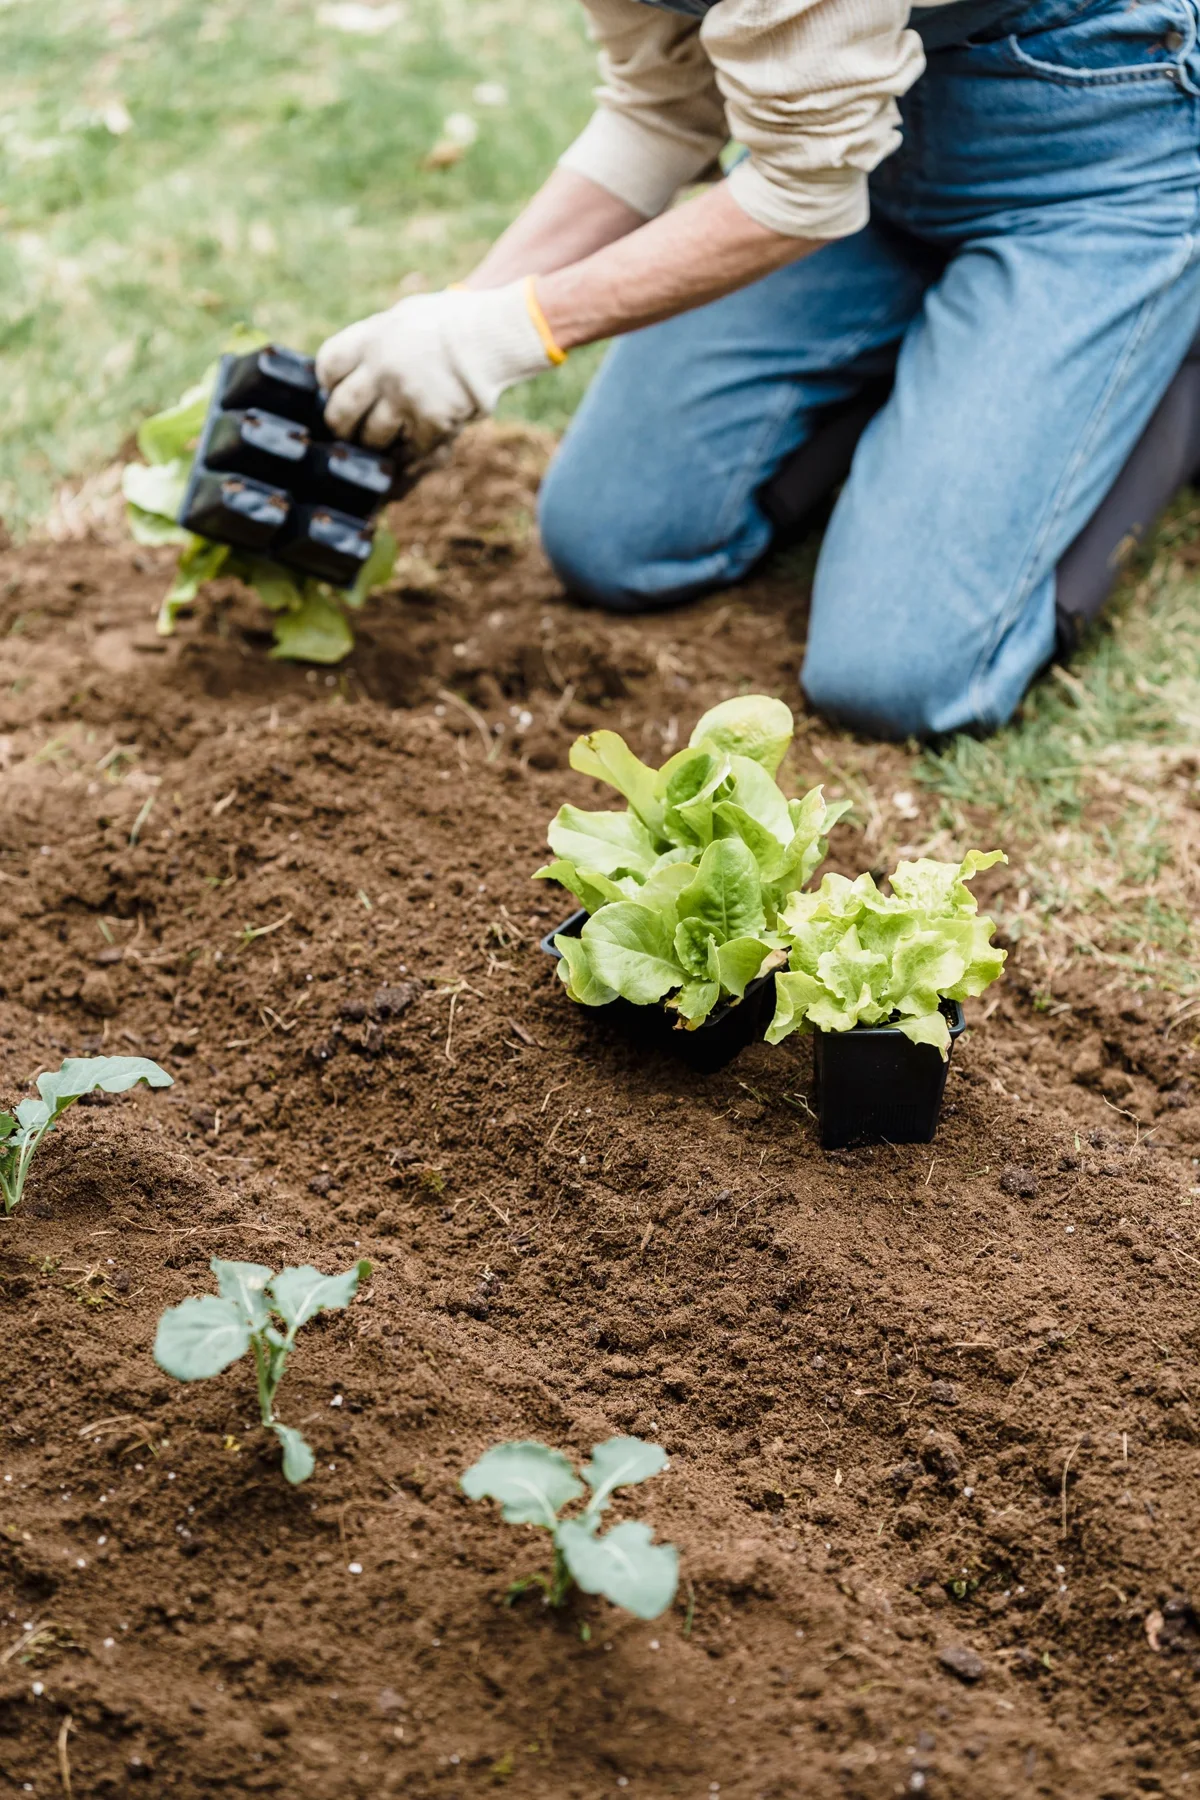
Plan time to harden off indoor-grown seedlings, gradually exposing them to outdoor conditions while protecting them from extremes. Check their moisture more often during the transition. Transplant only when local conditions suit the crop, and keep a record of the date and any setback.
Put one idea to work.
Choose one decision from this guide and add it to your garden plan. Our free tool can help with the next step.
Open the planning tool ↗Sources & further reading
These extension resources support the growing principles in this guide. Our examples and planning suggestions are editorial explanations. Local recommendations take priority where conditions differ.
- University of Maryland Extension: Care of vegetable seedlings ↗
- NC State Extension: Vegetable gardening handbook ↗
Reviewed September 26, 2026. Read our editorial approach.